








Isolator Glove Integrity Testing: Visual Checks, Pressure Decay and Change Intervals
An isolator is a rigid, welded, leak-tested enclosure — except at the glove ports. Gloves and sleeves are thin, flexible, handled all day and exposed to disinfectants, and they are the most likely place for a sterile barrier or a containment barrier to fail. This guide explains how isolator glove integrity testing is done, what each method can and cannot detect, how often gloves are tested and changed, and how glove systems should be specified.
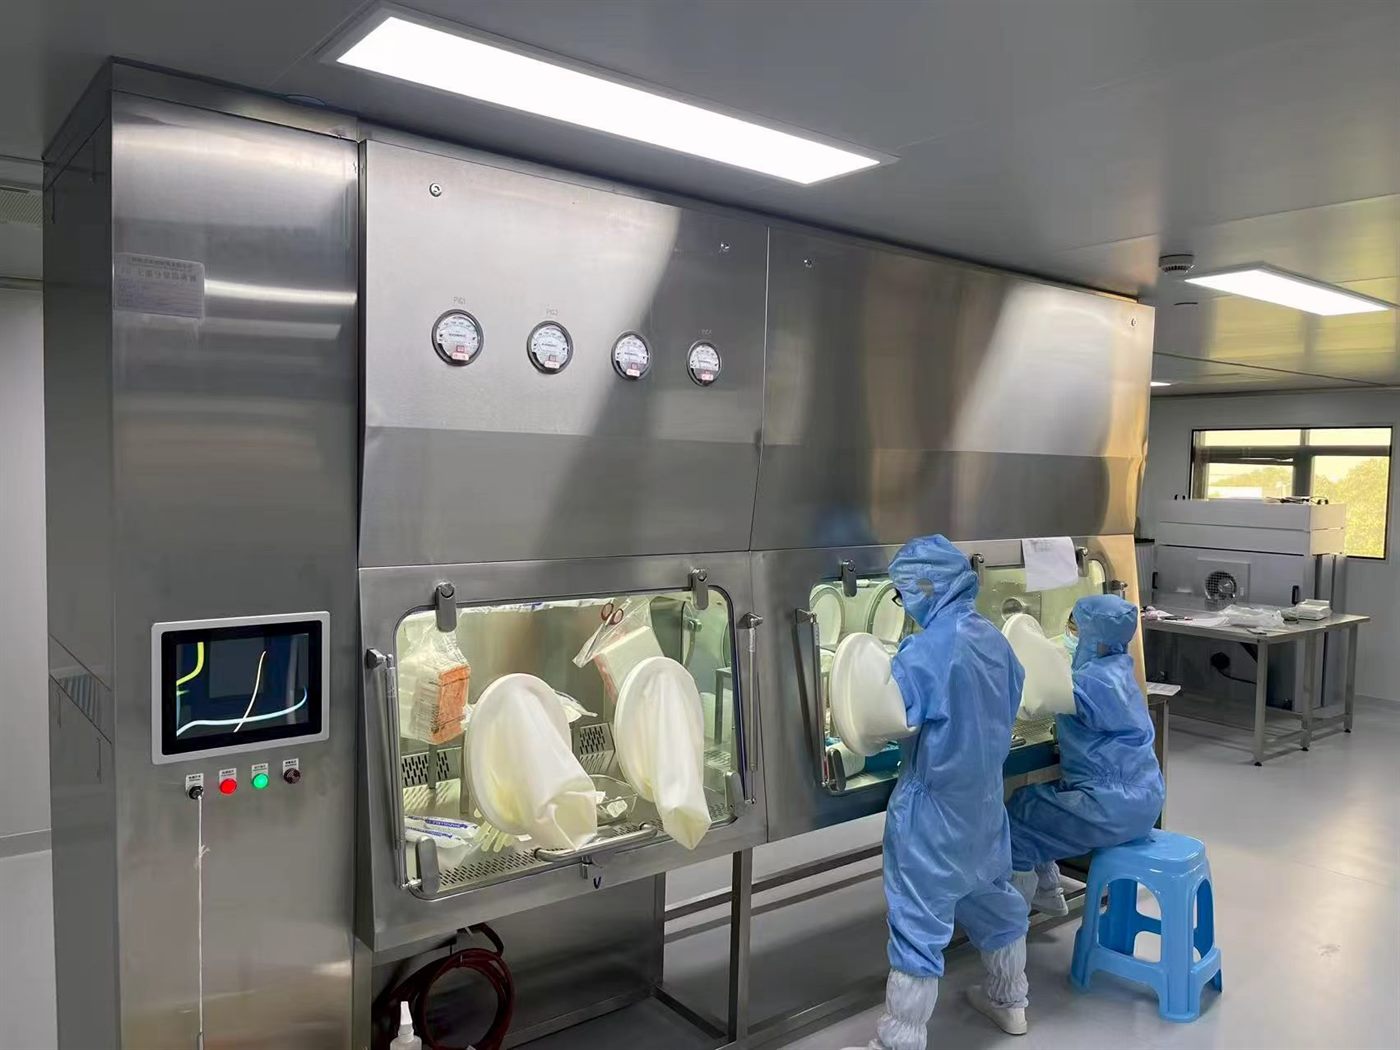
Why Gloves Are the Weak Point
The isolator shell is tested for leak tightness as a whole — see isolator leak testing by pressure decay. That test proves the enclosure, but a single pinhole in one glove is lost in the result for the whole volume. Gloves therefore need their own test.
- In aseptic isolators, a hole can let microorganisms from the operator’s hand reach the Grade A zone. The risk is highest where the glove touches product-contact parts.
- In containment (negative-pressure) isolators, a hole can expose the operator to a potent compound. See OEB4/OEB5 containment isolators.
- Typical causes are sharp edges, vial breakage, tools, rings or long nails under the glove, chemical degradation from disinfectants and VHP, and ageing.
EU GMP Annex 1 (2022) expects glove systems on isolators and RABS to be visually inspected whenever they are used and integrity tested at defined intervals, with test frequency, methods and glove replacement based on risk. Many aseptic manufacturers test at the start and end of each batch or campaign.
Parts of a Glove System
A glove port assembly usually consists of the glove port ring mounted in the isolator window, a sleeve, a cuff ring and the glove. Two-piece systems (sleeve plus separate glove) let the glove be changed more often than the sleeve. Glove ports with double O-ring grooves allow a new glove or sleeve to be pushed onto the port while the old one is still in place, so the barrier is never opened during change-out.
Glove Integrity Test Methods
1. Visual and tactile inspection
Before use, the operator stretches the glove and checks it against the light for holes, tears, thinning, discolouration, stickiness or brittleness, and checks the cuff and sleeve connections. It is quick and done every time, but it cannot find small pinholes reliably.
2. Pressure decay test
This is the most widely used physical test. A test cap is sealed onto the glove port from outside the isolator, the glove is inflated into the enclosure to a set pressure, and after a stabilisation period the pressure drop is recorded over a fixed measurement time. If the drop exceeds the acceptance limit, the glove fails. Portable and wireless glove testers can test several ports at once and store the results for the batch record.
3. Other methods
Some facilities use tracer-gas or oxygen-based methods, or test gloves on a bench before fitting them. These are more sensitive in certain cases but are less practical for routine testing on a production isolator.
What the Pressure Decay Test Can and Cannot Show
- Sensitivity depends on the set-up. Test pressure, glove volume, stabilisation time and measurement time all affect the smallest hole that can be detected. The acceptance limit should be set during validation, for example with gloves containing calibrated holes.
- Temperature matters. A small change in air temperature inside the inflated glove changes the pressure as much as a leak does. Testers should be at room temperature and gloves should not be tested straight after a warm VHP cycle.
- Gloves creep. A newly inflated glove keeps stretching for a while, which reads as a pressure drop. This is why a stabilisation period is used.
- It complements visual inspection. A glove that passes the pressure test but looks damaged is still rejected.
When to Test and When to Change Gloves
| Event | Typical practice |
|---|---|
| Each use | Visual and tactile inspection by the operator. |
| Start and end of batch or campaign | Physical integrity test (pressure decay) on all gloves in aseptic isolators; results recorded with the batch. |
| Before VHP decontamination | Test before the cycle, so a failed glove can be replaced before the enclosure is decontaminated. |
| Glove change | Test the new glove after fitting. |
| Suspected damage | Stop, test or replace immediately, and assess the impact on product or operator. |
| Scheduled replacement | Replace gloves and sleeves at fixed intervals based on material, use and test history, even if they pass. |
If a glove fails at the end of a batch, the batch has to be assessed for impact, which is why many sites test at both ends: a failure at the start costs a glove, a failure at the end can cost a batch investigation.
Glove Materials
| Material | Typical use |
|---|---|
| Hypalon (CSM) | Good resistance to oxidisers, ozone and many disinfectants; widely used for VHP-decontaminated isolators. |
| EPDM | Good resistance to hydrogen peroxide and ageing; often used for sleeves and seals. |
| Neoprene (polychloroprene) | Good dexterity and general chemical resistance. |
| Butyl | Low gas permeability; used where moisture or oxygen must be kept out. |
| Polyurethane | Thin and dexterous, with good tear resistance. |
Check compatibility with the decontaminant and cleaning agents actually used, glove thickness against dexterity needs, and glove size range for the operators. During a VHP cycle, gloves should be extended — for example on glove stands — so the vapour reaches the folds and fingers.
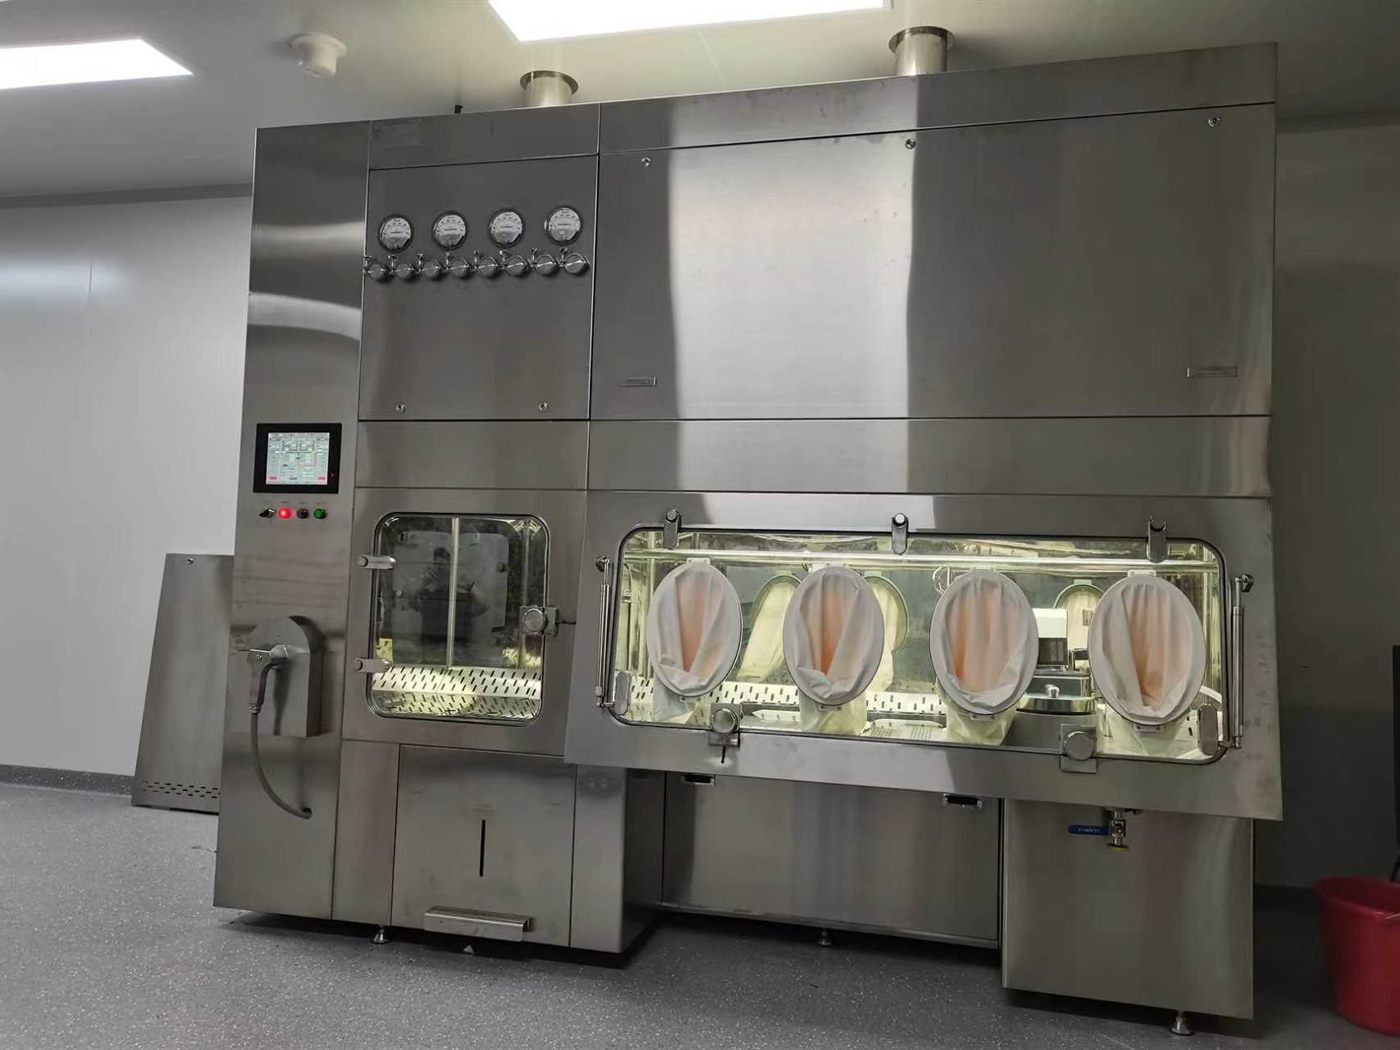
Fenggu Isolators and Glove Systems
Fenggu isolators are built with the number and position of glove ports chosen by the user, single-sided or double-sided:
- The sterility test isolator (FG-ISO-AF) has four glove ports on the standard model, with CSM sleeves for airtightness, chemical compatibility and abrasion resistance.
- The aseptic filling isolator (FG-ISO-F) can be configured with automatic glove integrity testing and automatic chamber leak testing, with FDA 21 CFR Part 11 data management.
- Containment isolators such as the negative-pressure isolator (FG-ISO-CN) and dispensing isolator (FG-ISO-DP) are designed to OEB5. The dispensing isolator runs an automatic chamber leak test by pressure decay (ISO 14644-7 / ISO 10648-2) and generates a report; the negative-pressure isolator’s chamber tightness meets ISO 10648-2.
For choosing between isolator types, see how to choose a pharmaceutical isolator.
FAQ
What is isolator glove integrity testing?
Checking that isolator gloves and sleeves have no holes or damage, by visual inspection and by a physical test — most often pressure decay — before and after use.
How does a glove leak tester work?
It seals the glove port from outside, inflates the glove to a set pressure, waits for the glove and air to stabilise, and measures the pressure drop over a fixed time against a validated limit.
How often should isolator gloves be tested?
Visually every time they are used; physically at defined intervals based on risk — in aseptic processing commonly at the start and end of each batch or campaign, and after every glove change.
How often should isolator gloves be changed?
At fixed intervals set from the material, the intensity of use and the test history, and immediately if damaged or failed.
Why should gloves not be tested right after VHP?
The glove and the air inside it are still changing temperature, which changes the pressure and gives false results.
Related Products
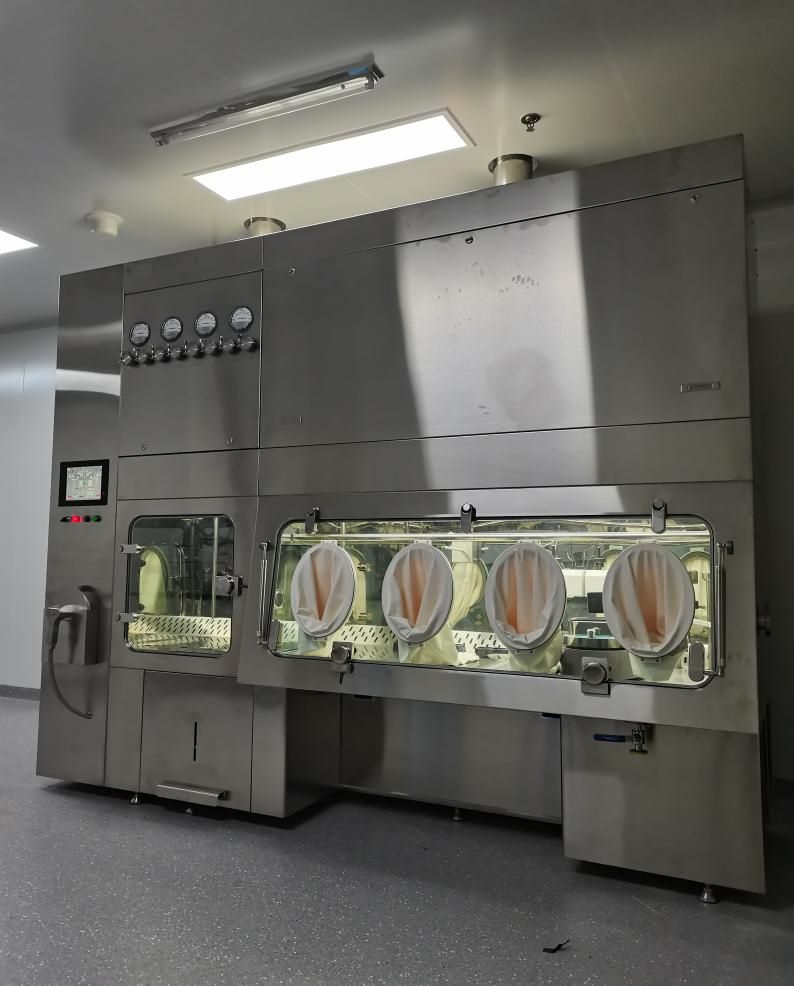 Sterility Test IsolatorGrade A barrier for pharmacopoeia sterility testing.Isolators & Barrier
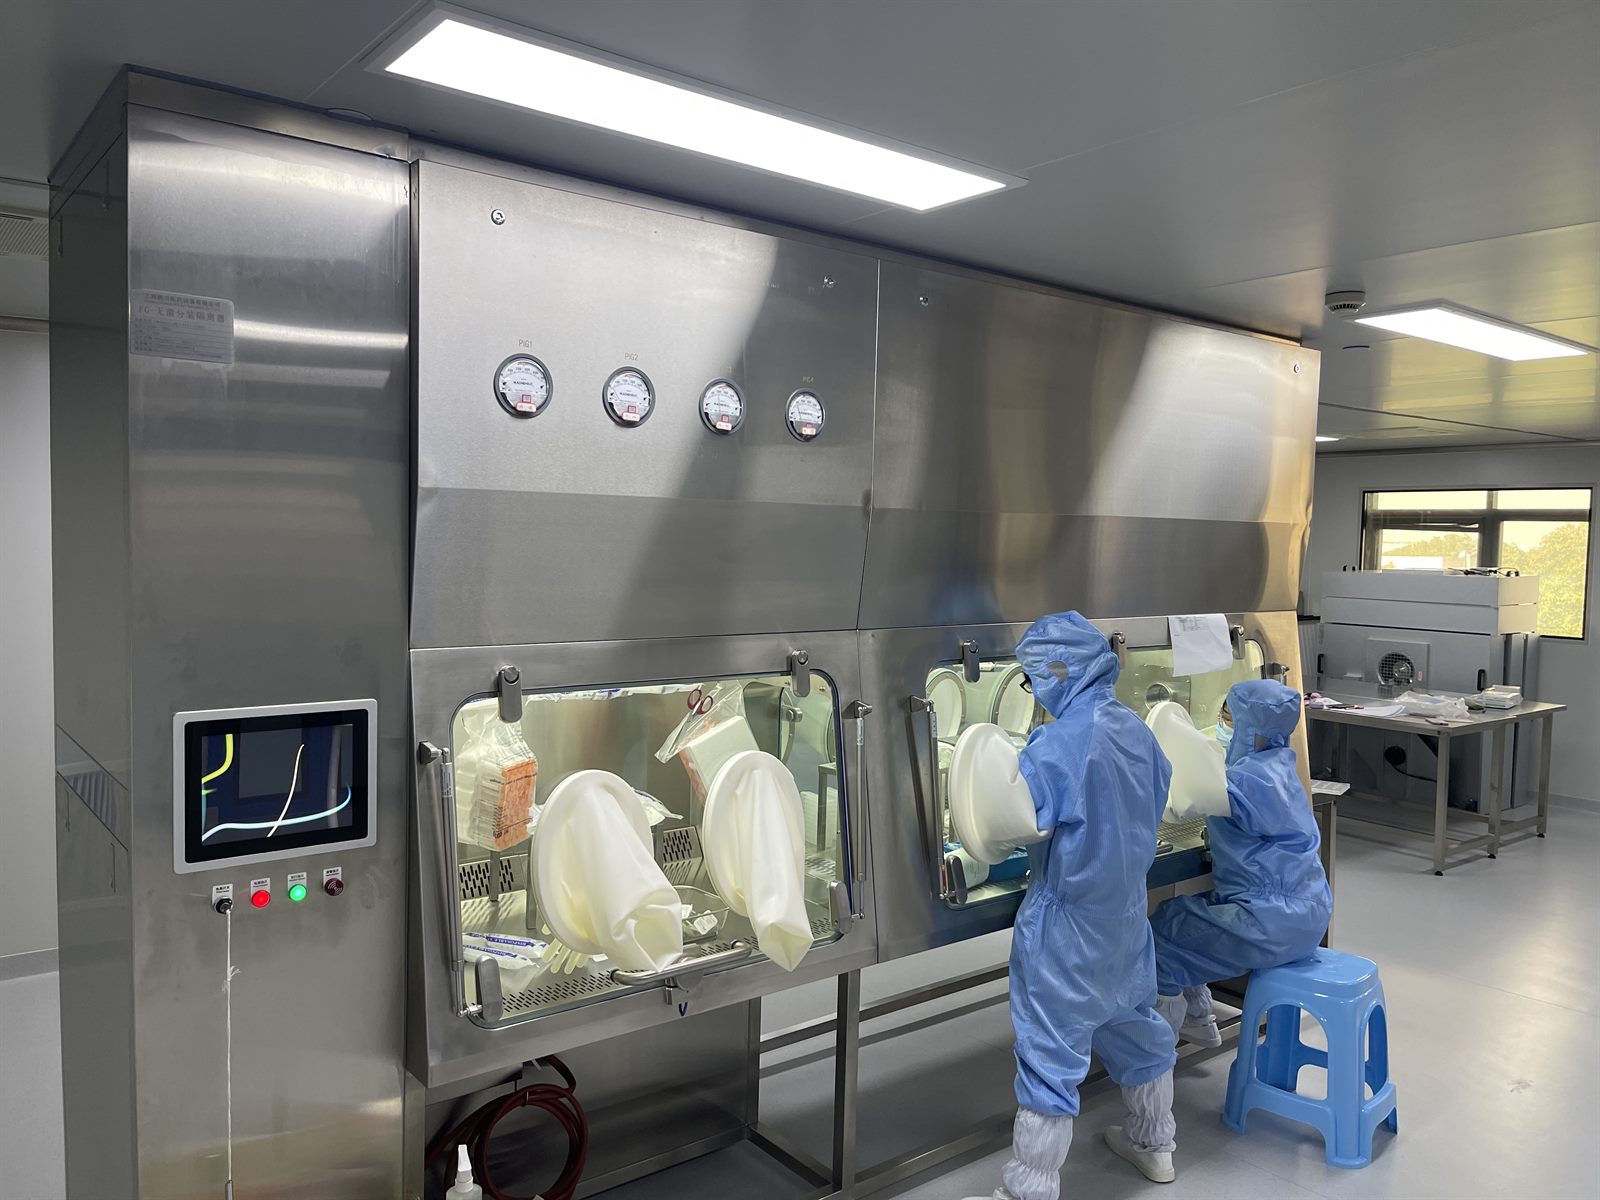 Aseptic Filling IsolatorGrade A (ISO 5) barrier for sterile filling, stoppering and capping.Isolators & Barrier
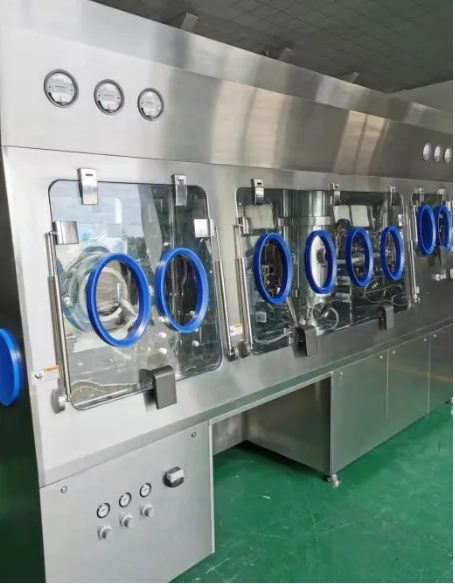 Negative Pressure IsolatorOEB5 containment at controlled negative pressure.Isolators & Barrier
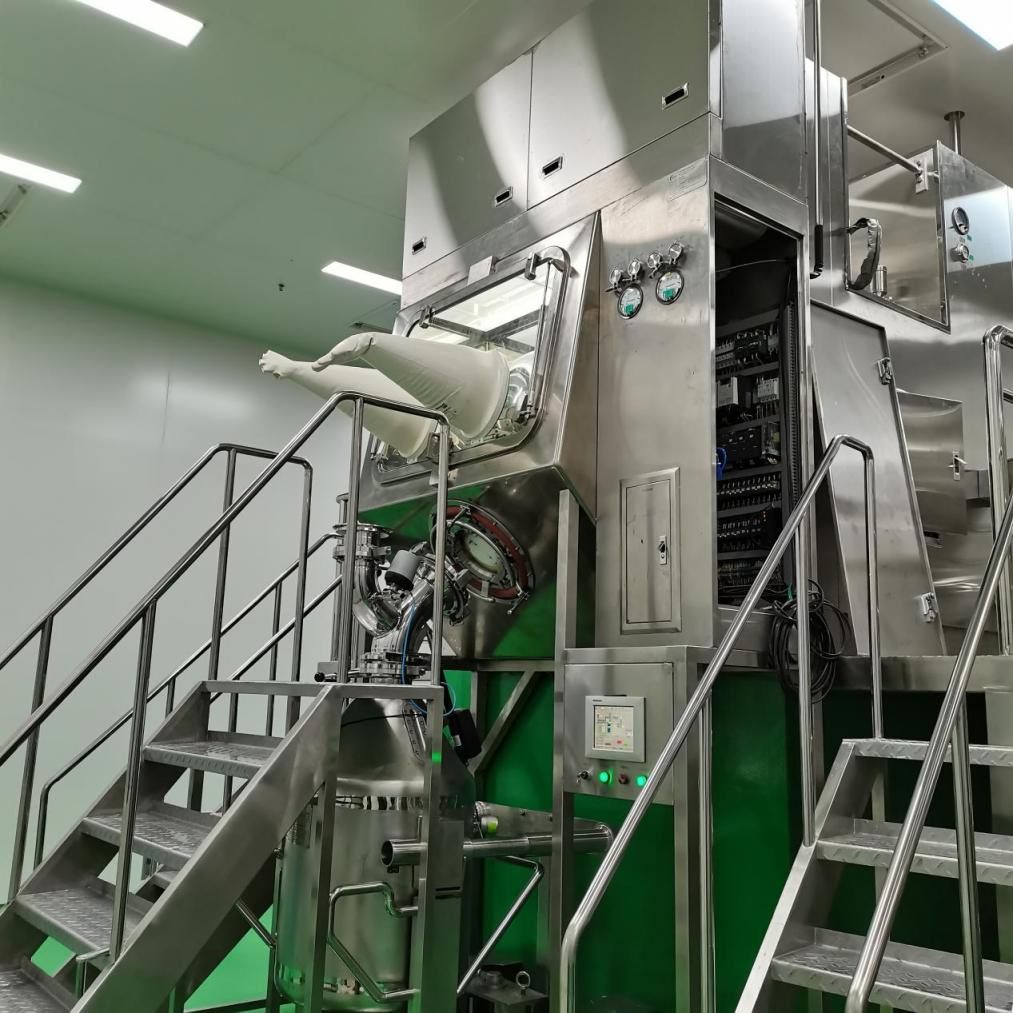 Dispensing & Containment Isolator (OEB5)Negative-pressure barrier for weighing, charging and sampling HPAPI.Isolators & Barrier
Specifying an Isolator?
Tell us your process, number of operators and glove port positions. Fenggu engineers will lay out the glove ports and integrity testing for your isolator.